Here we are with some amazing tips on DIY duty – how can you add a sprayer to an existing faucet? By listening, you might think, it seems to be difficult but it is not. The installment of a sprayer in the kitchen faucet doesn’t need any kind of expertise. Installing a new valve with a sprayer spout to connect the sprayer is actually more economical than replacing the entire spigot. Moreover, this won’t take more than one hour, which is less time than expected to be unprofessional.
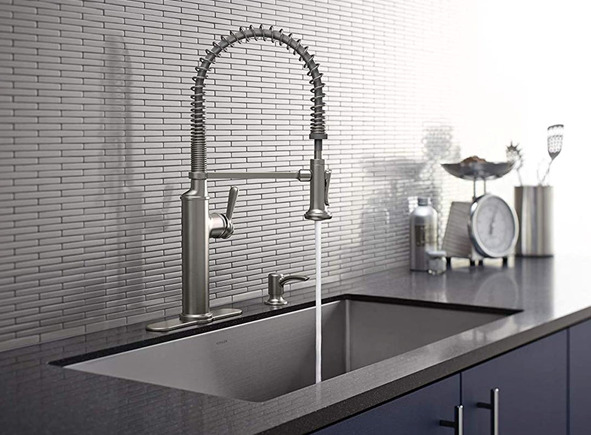
Check your sink; can you add a sprayer to an existing faucet? Ensure that the spout has an extra hole before you begin. It usually has a round-shaped stopper, for closing it. Moreover, you might have a plan and budget for a complete renovation. You can search for the best kitchen faucet that includes features like a built-in magnetic dock sprayer with a flexible neck.
Usually, there are two ways of fixing the sprayer in the kitchen faucet.
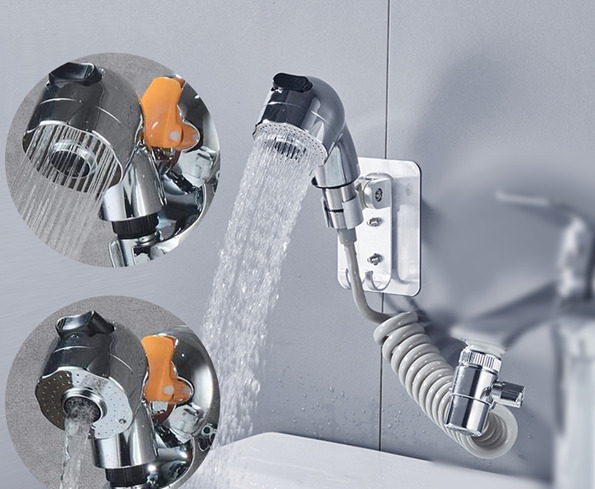
1. Movable tap head universal sprayer – Installing this sprayer is quite easy and cheaper, it requires less installment time and efforts. Although these taps ensure 360 vertical rotations, they cover less distance than a separately installed sprayer. Lets us look at the steps for the installation of tap head sprayer:
· First, check the kitchen faucet head, making sure you have the spigot head around.
· Secondly, you have to place a washer on the thread top and screw it to the other side of the thread.
· Lastly, put the washer on the left side through the tap head on the other side of the thread and yes, you are done.
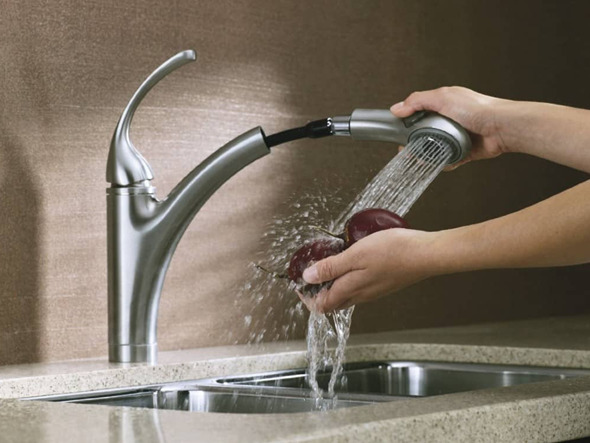
2. Adding a sprayer separately to the kitchen faucet – This installment of adding a sprayer to the kitchen faucet requires some tools with basic expertise and this process is slightly time-consuming. Also, expensive as compared to the other options.
So, if you don’t want to use your cash, where it is not necessary. Live Enhanced, is here to offer you the right choice. you can follow the below steps to add a sprayer to the existing faucet. Though it will become beneficial too –
· Step – 1: Prep the Faucet
Turn off water valves under the sink, let the remaining water drain out.
· Step – 2: Testing the Faucet
Check under the spout, if there is a pipe with a cap leading from the faucet. If it exists then installing the sprayer becomes easier. If there is no pipe then you have to replace the spout, as it is not adequate.
· Step – 3: Install Sprayer Hole Flange
Let me introduce what a flange is. The flange is a circular piece that has a hole situated in the center. It is because to protect the hole that the sprayer will come through. Insert the flange from the top of the hole and screw the plastic nut in from beneath. The flange should be in two parts: one that sits in the hole from the summit and the other that holds the screws on the part from under the counter, holding it in place.
· Step – 4: Accumulate Pipe Fittings
Unscrew the cap (female) at the end of the pipe or you can remove the pipe (male) from under the tap using an adjustable wrench. At the ends of the male pipe, wind the cotton string on the male thread. One more thing to do is, apply oil paint or pipe dope with each of the male pipe fittings while holding them together.
· Step – 5: Prepare Hose
Screw the universal coupling at one end of the new pipe, and at the other end, screw the U-joint. Use a basin wrench to tighten all fittings.In a hole at the top of the sink, put the male end of the new hose. Wrap the plunger tape over the male end of the hose, or you can use pipe dope and cotton string. Screw it on a U-joint. Tighten the hose on the pipe using an adjustable wrench.
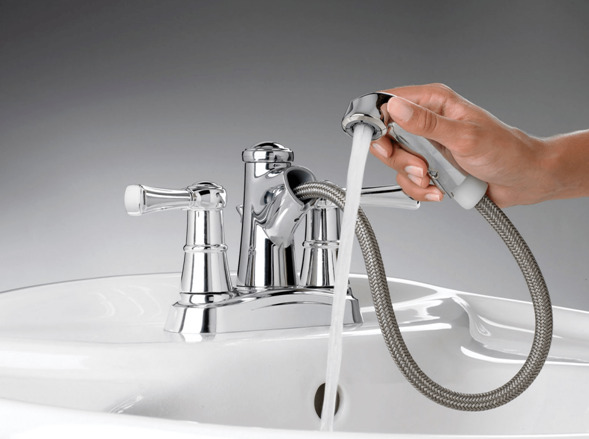
· Step – 6: Install Sprayer
Connect the sprayer handle to the top of the hose located at the top of the sink. It is sometimes already connected. Pull the hose. Then turn on the water valve and test the sprayer.